Managing Company Location Addresses
This article explains how additional addresses can be managed for a company location — both by the customer (via their Customer Account) and by the admin (via Shopify Admin).
Written By Fatima Faisal
Last updated 5 days ago
Part 1: Managing Addresses as a Customer
Prerequisites
Before a customer can manage addresses, an admin must have:
Added the Address Management link to the Customer Account menu (see Installing the Address Book App → Step 4).
Enabled the Address Management extension on the Customer Account page.
Accessing Address Management
Log in to your Customer Account.
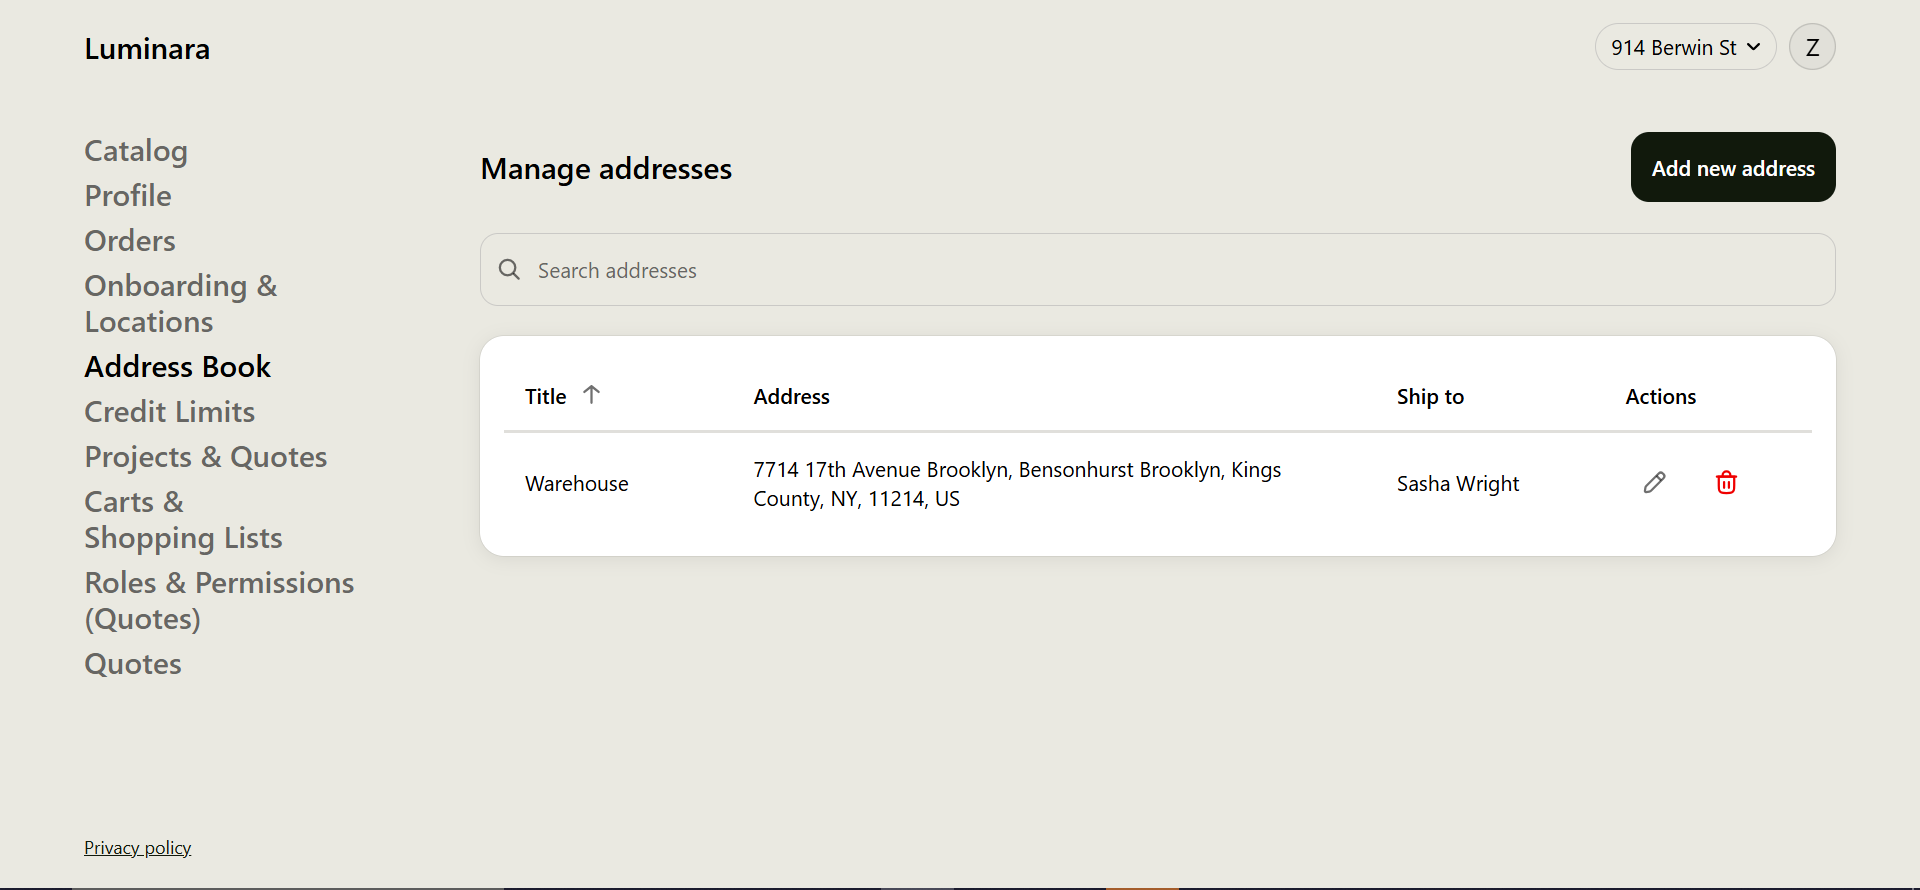
From the account menu, select Address Management.
All addresses saved to your company location will be listed here.
Adding a New Address
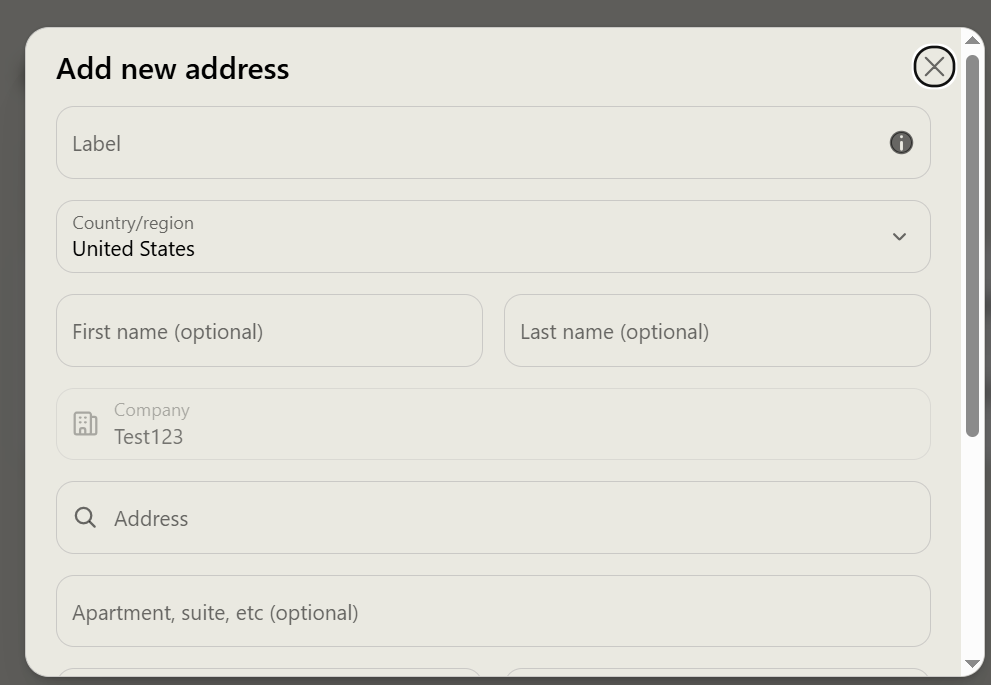
Click Add new address.
Fill in the required fields:
Label (e.g., "Warehouse," "Main Office")
Address
City
Zip Code
Click Save.
The new address is saved to the company location and becomes available to select at checkout.
Editing an Address
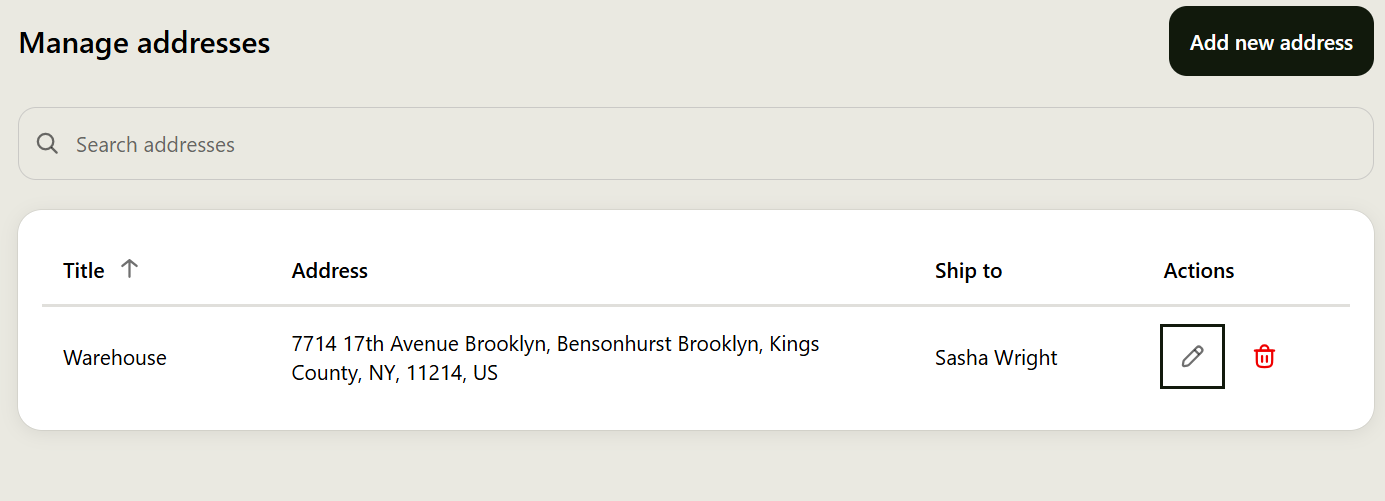
Find the address you want to update in the list.
Click the pencil (edit) icon next to it.
Update the necessary fields.
Click Save to apply your changes.
Deleting an Address
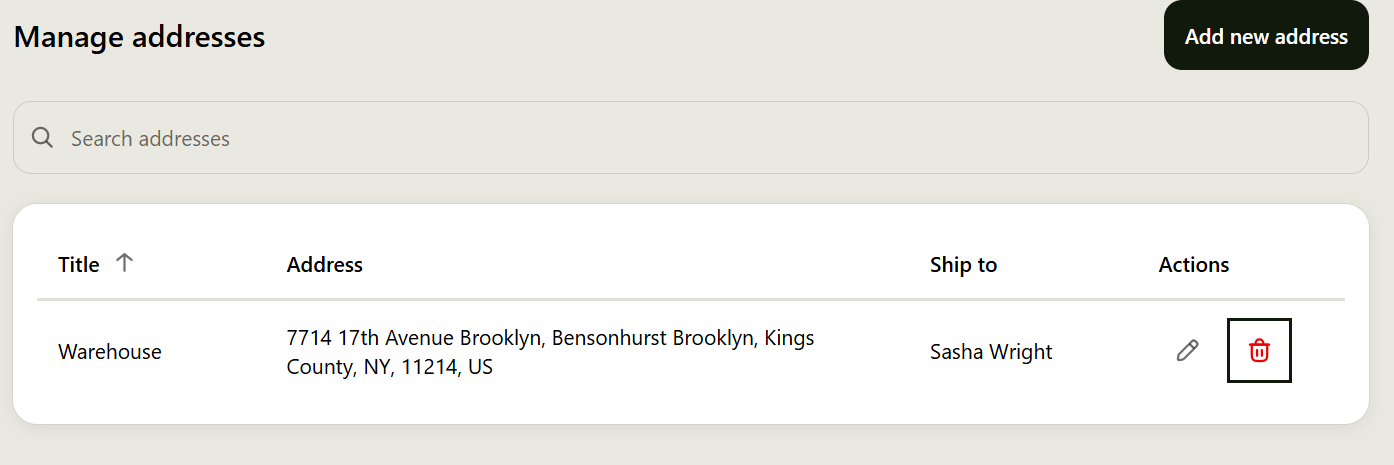
Find the address you want to remove in the list.
Click the trash can (delete) icon next to it.
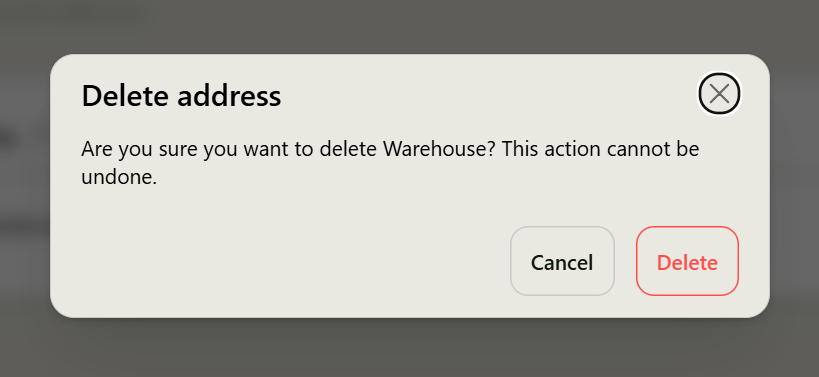
Confirm the deletion when prompted.
Note: Deleting an address removes it permanently from the company location. It will no longer be available as an option at checkout.
Part 2: Managing Addresses as an Admin
Admins can add, edit, or delete a company location's additional addresses directly from Shopify Admin, using the Additional Addresses block installed on the Company Location Details page (see Installing the Address Book App → Step 2).
Navigating to a Company Location
In Shopify Admin, go to Customers.
Select Companies.
On the Companies list, click the company you want to manage .
On the company's page, scroll down to the Locations section and click the specific location you want to manage.
This opens the Location Details page, which includes shipping/billing address, payment methods, tax details, and the Additional Addresses block.
Adding a New Address
On the Location Details page, find the Additional Addresses block.
Click Add address.
Fill in the address details.
Click Save.
The address is now available to the company at checkout and in the customer's Address Management page.
Editing an Address
In the Additional Addresses block, use Search addresses to find the address if needed.
Click the pencil (edit) icon next to the address.
Update the necessary fields.
Click Save.
Deleting an Address
In the Additional Addresses block, locate the address you want to remove.
Click the trash can (delete) icon next to it.
Confirm the deletion when prompted.
Note: Deleting an address here removes it for the entire company location — it will no longer appear for any customer managing addresses from their Customer Account.